
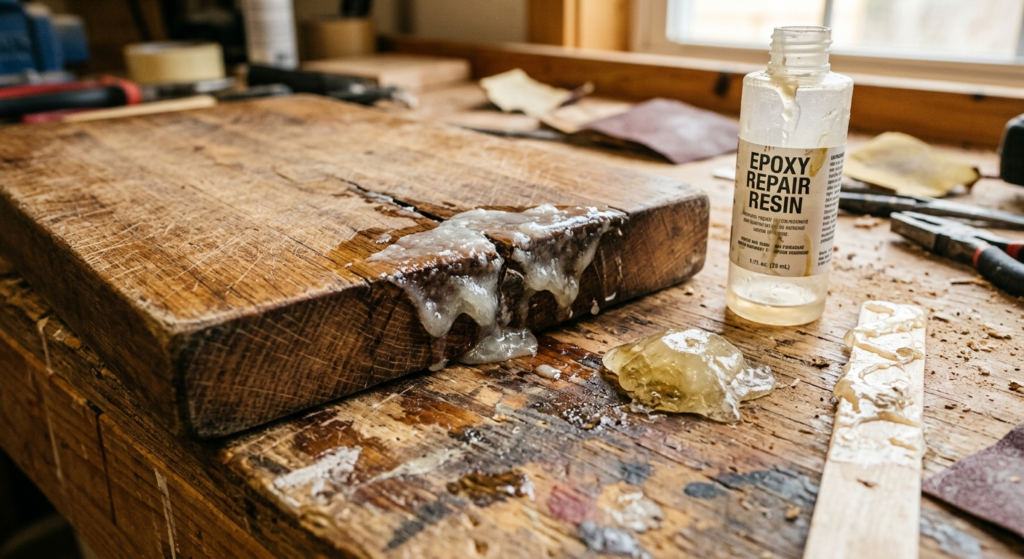
A few years back, I tried to fix a chipped wooden cutting board with what I assumed was “just glue, but thicker.” I grabbed a two-part epoxy off the shelf, slapped it into the crack, and figured I was done. Twenty minutes later, the stuff was rock hard, cloudy, and had oozed out onto my workbench where it’s now a permanent bump I still catch my sleeve on. I didn’t understand ratios, working time, or the fact that epoxy isn’t just “strong glue” — it’s a whole different beast with its own rules.
If you’ve ever picked up a bottle of epoxy resin and thought “how different can this really be from wood glue or super glue,” I get it. I thought the same thing. Turns out epoxy plays by its own rulebook, and once you understand why, everything else about resin art starts making a lot more sense.
So What Actually Is Epoxy Resin?
Here’s the plain-language version, no lab coat required: epoxy resin is a two-part system made of a resin and a hardener (sometimes called a catalyst). On their own, each part is just a liquid that’ll sit there forever. The second you combine them in the right ratio, they kick off a chemical reaction — called curing — that permanently transforms the mixture from liquid into a hard, glass-like solid.
This is fundamentally different from something like wood glue, which just dries as water evaporates. Epoxy doesn’t “dry.” It cures through a chemical reaction, which is why temperature, humidity, and ratio accuracy matter so much more than they do with regular glue. You’re not waiting for moisture to leave — you’re triggering and managing an actual reaction.
That’s also why epoxy can do things ordinary glue can’t. It can fill gaps, self-level into a glossy surface, encapsulate objects, and cure into a crystal-clear, durable finish that resists water and wear far better than most craft adhesives.
Not All Epoxy Is Created Equal
This trips up a lot of people at the craft store, because “epoxy” isn’t one single product — it’s a category, and different formulas are built for wildly different jobs.
- Casting/deep-pour epoxy — formulated to cure slowly so it doesn’t overheat in thick pours. Great for river tables and charcuterie boards. Terrible choice for jewelry, since it can take days to fully cure.
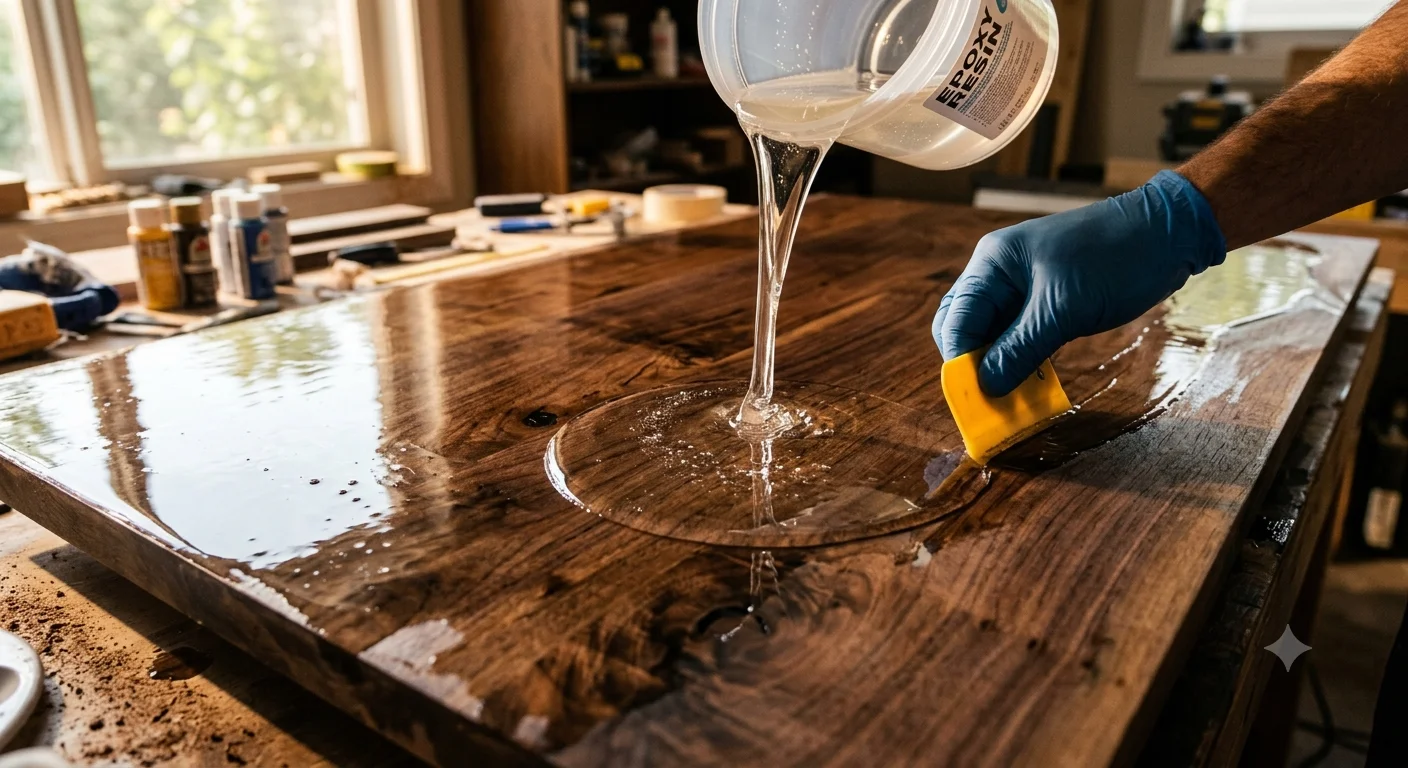
- Coating/tabletop epoxy — self-levels beautifully for thin, glossy layers on countertops, bar tops, and artwork. Not meant for deep pours; it’ll overheat and crack if you go too thick.
- Art/craft resin — usually a middle ground, made for coasters, small trays, and general resin art. Fast enough to be beginner-friendly, thin enough to self-level nicely.
- UV resin — technically still an epoxy-adjacent product, but it cures with UV light instead of a chemical hardener reaction. Great for small, shallow pieces like jewelry.
Grabbing the wrong type for your project is one of the most common (and expensive) beginner mistakes. I’ve watched a friend try to deep-pour a river table with tabletop-coating epoxy, and it cracked right down the middle a day later from heat buildup. Match your epoxy to your project before you even open the bottle.
The Chemistry-Adjacent Stuff You Actually Need to Know
Mixing ratio is everything. Most epoxies are either 1:1 or 2:1 (resin to hardener) by volume or weight — check your specific product, because guessing wrong in either direction leaves you with resin that either never fully hardens or cures too brittle. I keep separate, clearly labeled mixing cups just for this so I never second-guess myself mid-project.
Working time (pot life) is your countdown clock. From the moment you combine resin and hardener, you’ve got a limited window before it starts thickening and becomes hard to pour or manipulate. Fast-cure formulas might give you 15–20 minutes; deep-pour formulas can stretch to 45 minutes or more. Know your product’s working time before you start, not mid-pour when you’re suddenly racing the clock.
Exotherm is the heat epoxy generates as it cures. In small, thin pours, this is barely noticeable. In thick pours, it can build up enough heat to warp your mold, crack your piece, or turn it yellow/cloudy. This is exactly why deep-pour formulas exist — they’re chemically slowed down to release heat gradually instead of all at once.
Temperature and humidity control your outcome. Cold rooms slow the reaction and trap bubbles. Hot rooms speed it up dangerously fast. Humid air causes a hazy “blushing” effect on your cured surface. I run a small space heater in winter and a dehumidifier in summer just to keep my results consistent year-round.
A Practical Walkthrough for Working With Epoxy
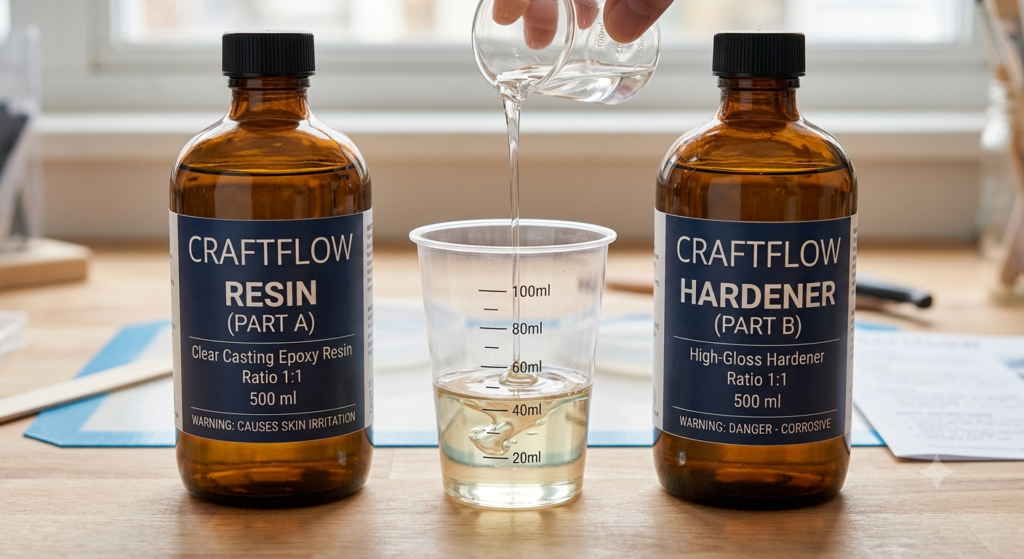
- Read your specific product’s ratio and working time before mixing anything. Every brand is slightly different — don’t assume it’s the same as the last bottle you used.
- Measure precisely using proper mixing cups with clear markings, or a scale if your resin calls for measuring by weight.
- Mix slowly but thoroughly for a full 3 minutes, scraping the sides and bottom of the cup constantly. Undermixed spots stay permanently tacky — this is the single most common cause of ruined pieces.
- Transfer to a second clean cup and mix again briefly. This catches any unmixed resin clinging to the original cup’s walls.
- Pour steadily, not all at once in one spot. Let it flow and self-level rather than dumping and hoping.
- Torch or heat-gun the surface lightly right after pouring to pop trapped micro-bubbles. Quick passes only — lingering can scorch the surface.
- Cover and leave it completely alone while it cures. Dust, hair, and stray fingers are the enemy of a glassy finish.
Real Projects Where Epoxy Shines
- Coasters — small, quick, forgiving, perfect for testing colors like mica powder shimmer versus alcohol ink blooms.
- Charcuterie boards — a great intro to deep-pour techniques and exotherm management.
- Bookmarks with pressed botanicals — teaches precision around embedded objects.
- Bar tops and tabletops — where coating epoxy’s self-leveling properties really shine.
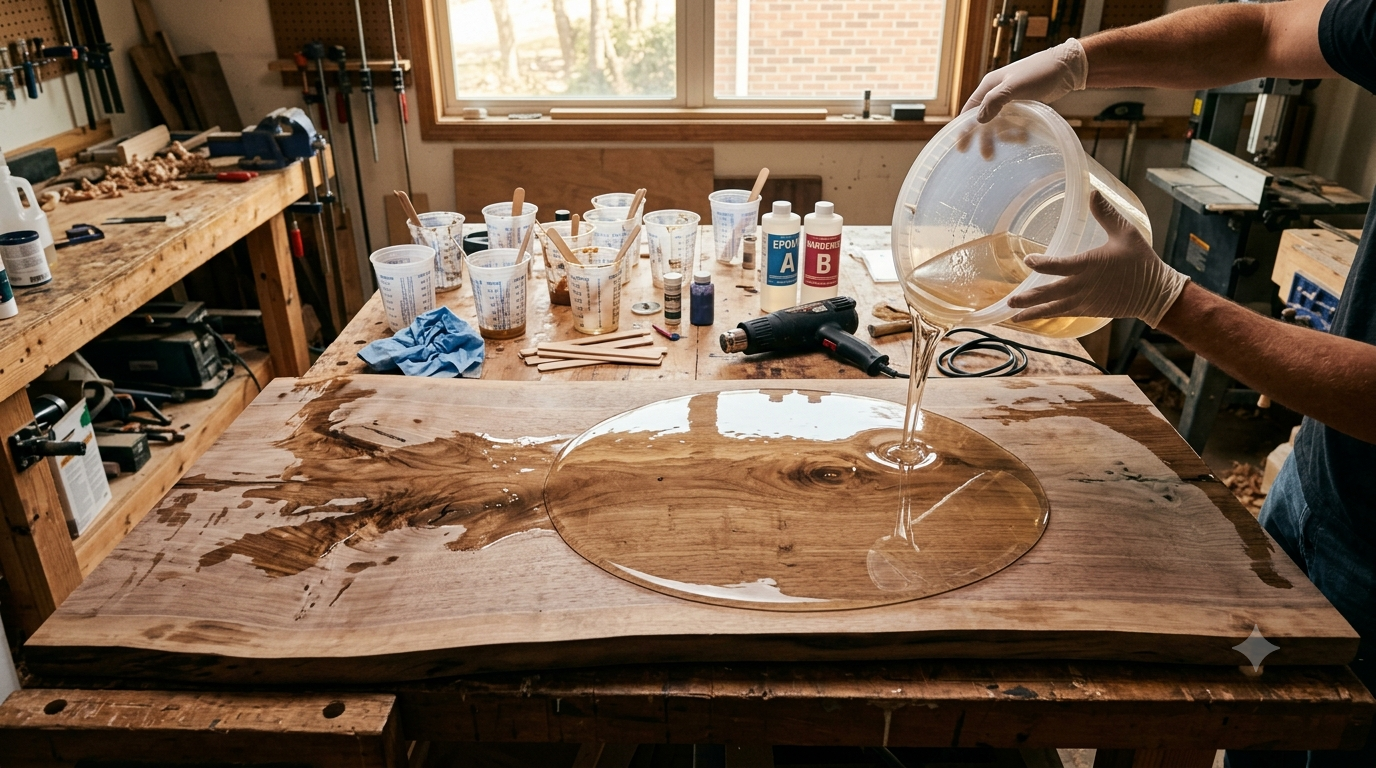
- River tables — the advanced project that combines wood, deep-pour chemistry, and patience in equal measure.
Mistakes and Fixes Worth Knowing Before You Start
- Using the wrong epoxy type for the job. Match casting resin to deep pours and coating resin to thin, glossy surfaces — swapping them leads to cracking or overheating.
- Eyeballing your ratio. Always measure precisely. Off-ratio epoxy either stays soft and sticky forever or cures too brittle and prone to cracking.
- Pouring too thick in one go. Stick to your product’s recommended max depth per layer, or you risk exotherm damage.
- Ignoring room conditions. A stable, moderate-temperature, low-humidity space will save you more headaches than any fancy tool.
- Skipping mold prep. A light coat of mold release, even on silicone, makes demolding smoother and protects your piece’s edges.
Final Thoughts
Epoxy resin isn’t magic, but it can feel like it once you understand what’s actually happening in that cup — a real chemical reaction you’re steering, not just a craft supply you’re pouring. Respect the ratios, respect the working time, keep your space stable, and give yourself grace when a batch doesn’t go perfectly. Every crafter’s got a permanent bump on their workbench somewhere from an early mistake — mine’s still there, honestly, and I kind of like the reminder.
Good luck on your next pour, and don’t be afraid to get a little resin on your gloves.