
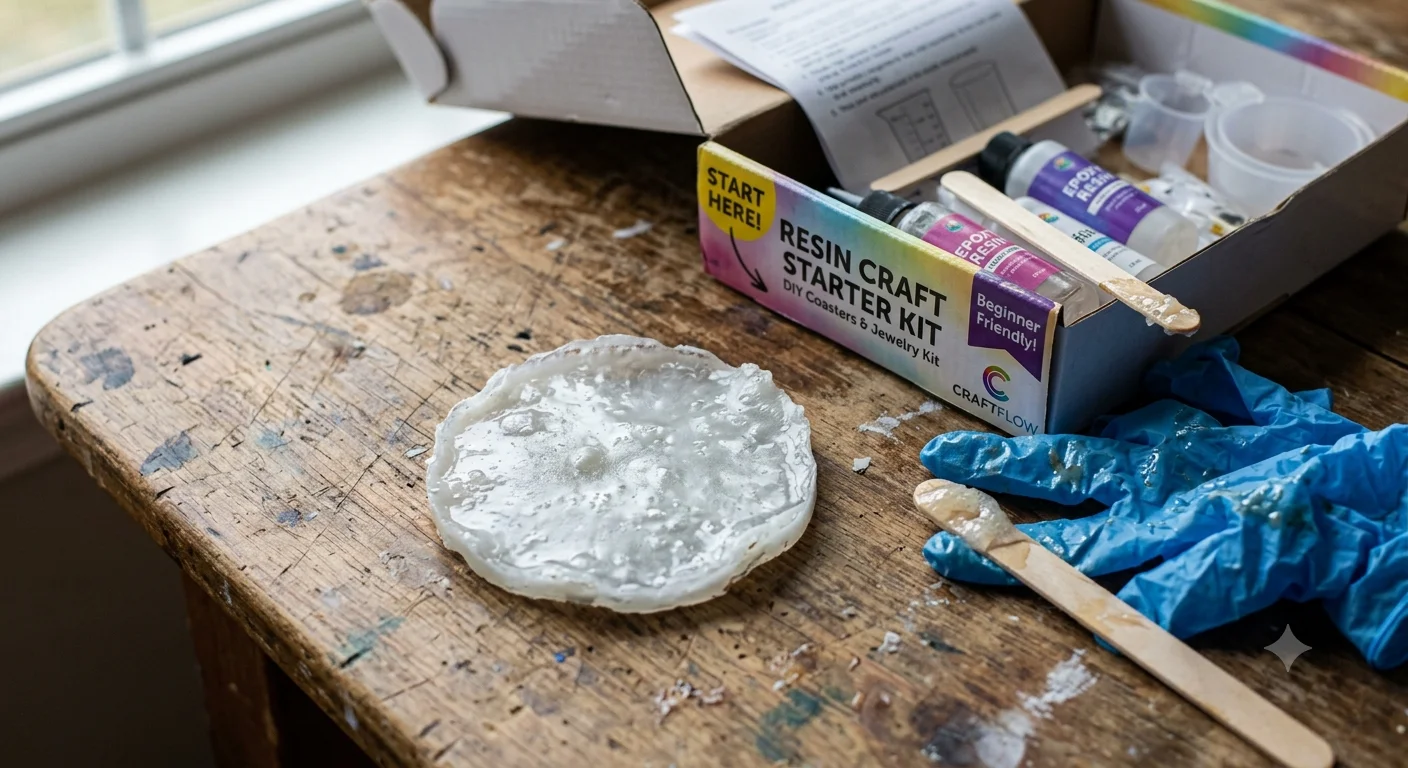
My first ever resin project is still sitting in a drawer somewhere, half-cured and permanently tacky, like a cautionary museum piece. I’d watched maybe four YouTube videos, bought the cheapest kit I could find at the craft store, and figured “how hard can mixing two liquids together really be?”
Turns out: pretty hard, if you don’t know what you’re doing. I poured way too thick, didn’t measure anything properly, and left it curing on top of my washing machine (don’t ask). Three days later I had a warped, sticky blob that never fully hardened and smelled faintly of vinegar for reasons I still don’t fully understand.
If you’re just starting out and feel a little intimidated by resin — good. That means you’re paying attention. This stuff rewards care and punishes shortcuts, but once you get the hang of it, it’s genuinely one of the most satisfying crafts you can pick up at home. Let me walk you through what actually matters, minus the fluff.
Why Resin Trips Up So Many Beginners
Here’s the thing nobody tells you at the craft store: resin isn’t really a “craft supply” in the way paint or glue is. It’s a two-part chemical reaction. You’re mixing a resin and a hardener, and the second they combine, a clock starts ticking. That clock is your “working time” or “pot life,” and it’s different for every brand and every formula.
This is exactly why beginners get burned so often — you can’t treat resin like paint where you can walk away and come back later. Once it’s mixed, it’s committing to becoming solid whether you’re ready or not.
The Resin Types You’ll Actually Run Into
- Epoxy resin — this is your workhorse. Most coasters, tumblers, jewelry, and tabletops use this. Look for beginner-friendly ones with an easy 1:1 mixing ratio by volume, so you’re not doing math with a kitchen scale on your first go.
- UV resin — cures fast under a UV lamp (or sunlight, in a pinch), but it’s thin and only good for shallow pours like jewelry or small embellishments. Don’t try to fill a whole tray with it — it won’t cure properly below the surface.
- Deep-pour epoxy — a specific slow-curing formula made for thick pours like river tables or charcuterie boards. Regular epoxy poured too thick will overheat, crack, or yellow. Learned that one the hard way with a 2-inch pour that turned into a cracked amber mess.
For your very first project, grab a basic 1:1 epoxy. Don’t overthink the brand — consistency in your own technique matters way more than which bottle you bought.
The Stuff That Actually Determines Success (Beyond the Resin Itself)
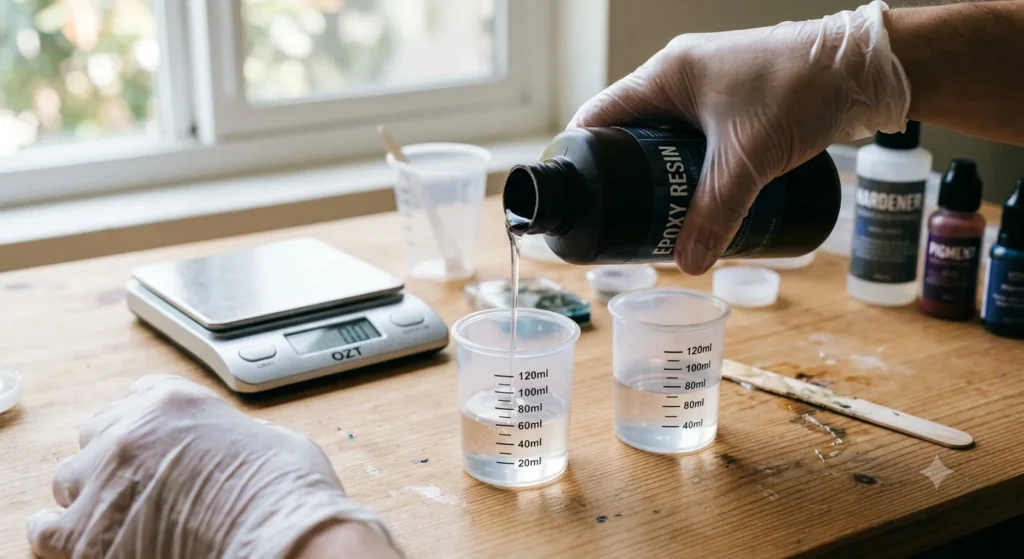
Your mixing ratio has to be exact. Not “close enough.” Not eyeballed. If your resin calls for 1:1, that means equal parts by volume, measured in proper mixing cups with clear markings. Off-ratio resin either stays gummy and never fully cures, or cures too fast and gets brittle. I keep a set of cheap silicone measuring cups just for resin now — no more guessing.
Room temperature isn’t a suggestion. Most resins cure best somewhere around 70–75°F. Cold rooms make resin thick and slow, which traps air bubbles and can leave your surface looking cloudy or textured instead of glassy. Warm rooms speed up your working time, which sounds nice until your resin starts thickening in the cup before you’ve even finished pouring.
Humidity will humble you. If you’ve ever pulled a piece off the bench and it’s got a weird frosty, hazy film on top — that’s called blushing, and it happens when moisture in the air reacts with your curing resin. Muggy summer days are the worst offenders. If your climate’s humid, consider running a dehumidifier near your workspace while things cure.
A Realistic Beginner Walkthrough
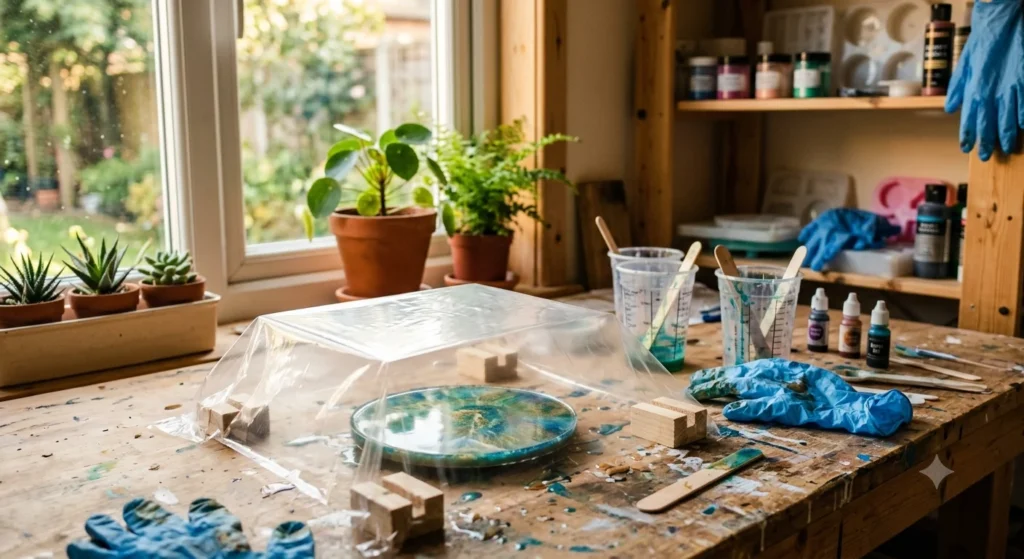
- Prep your workspace first, not after. Cover your table in silicone mats or a taped-down plastic sheet. Resin drips travel further than you’d think, and once it hardens on a surface, it’s a nightmare to remove.
- Measure precisely, then mix slowly. Pour your resin and hardener into a clean cup, then stir for a solid 3 minutes, scraping the sides and bottom constantly. Undermixing is probably the single most common beginner mistake — those unmixed patches stay sticky forever.
- Pour into a second cup and mix again. Sounds excessive, I know. But it catches any resin that was clinging to the first cup’s walls, and it’s saved more of my pieces than any other single habit.
- Pour slowly and evenly. Don’t dump it in one spot and expect it to spread perfectly — guide it gently, especially if you’re working with color layers.
- Pop your bubbles. A few light passes with a heat gun or small torch right after pouring will pull trapped air right up to the surface where it pops. Don’t hover in one spot too long, or you risk scorching the resin.
- Cover it and walk away. Use a box or dust cover (something that doesn’t touch the wet surface) to keep dust and stray hairs out while it cures. Then leave it alone. I know it’s tempting to keep checking on it every twenty minutes. Resist.
Beginner-Friendly Projects Worth Starting With
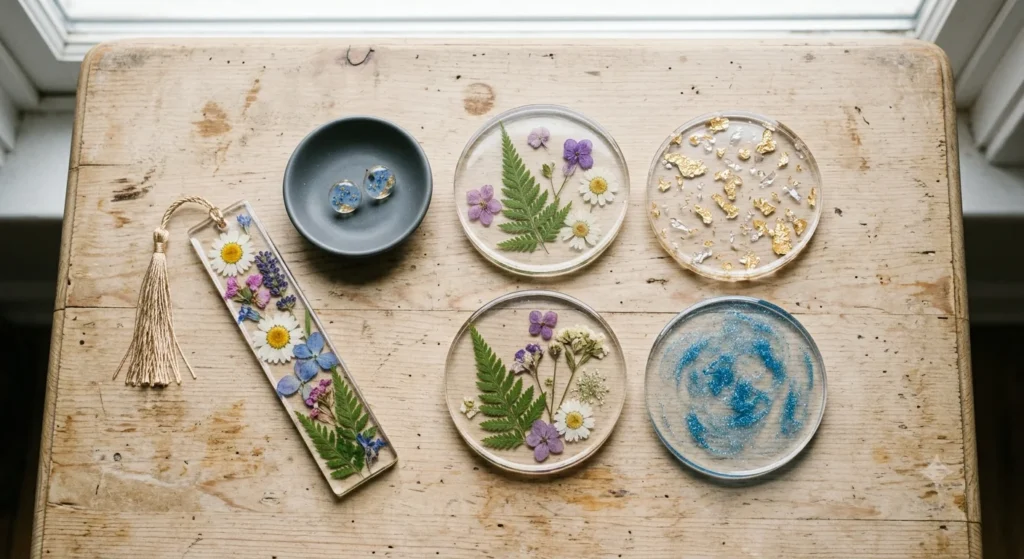
- Coasters are the classic first project for a reason — small, quick, cheap to redo if something goes wrong.
- Bookmarks with pressed flowers teach you how to work carefully around embedded objects without trapping air pockets.
- Simple jewelry with UV resin gives you fast feedback since it cures in minutes, great for testing pigment combos without waiting hours.
- A small tray or serving board is a good next step once coasters feel easy — slightly bigger surface, still forgiving.
Save deep pours and river tables for later. They’re a completely different beast involving heat management and multi-stage pours, and you’ll enjoy them more once your fundamentals are solid.
Mistakes That Wreck Beginner Projects (And How to Dodge Them)
- Not measuring accurately. Eyeballing your ratios is the fastest way to end up with a permanently tacky piece. Get proper measuring cups and actually use the markings.
- Pouring too thick, too fast. Standard epoxy usually has a max pour depth (often around a quarter to half an inch per layer). Go thicker and you risk overheating, cracking, or cloudy curing.
- Skipping mold prep. Even “non-stick” silicone molds benefit from a light coat of mold release for tricky shapes. Bare wood or other materials need it, or you’ll be prying your project out with a butter knife and some tears.
- Curing in an unstable environment. Cold garages, humid bathrooms, and drafty rooms all mess with your cure. Find a stable, room-temperature spot and stick with it for every project.
- Impatience with layers. Adding a second layer too early (while the first is still wet) causes them to blend messily. Too late, and it won’t bond properly, leading to peeling. You want it tacky, like the surface of a not-quite-dry nail polish — that’s your window.
Final Thoughts
Nobody’s first pour is their best pour, and that’s genuinely fine. Every ruined coaster or sticky blob (mine’s probably still in that drawer, honestly) teaches you something that no tutorial video can fully explain until you feel it yourself. Measure carefully, respect your working time, keep your space warm and dry, and give yourself permission to mess up a batch or two while you’re learning the rhythm of it.
Grab your gloves, tape down that plastic sheet, and give it a shot. Good luck on your first pour — you’ve got this.