
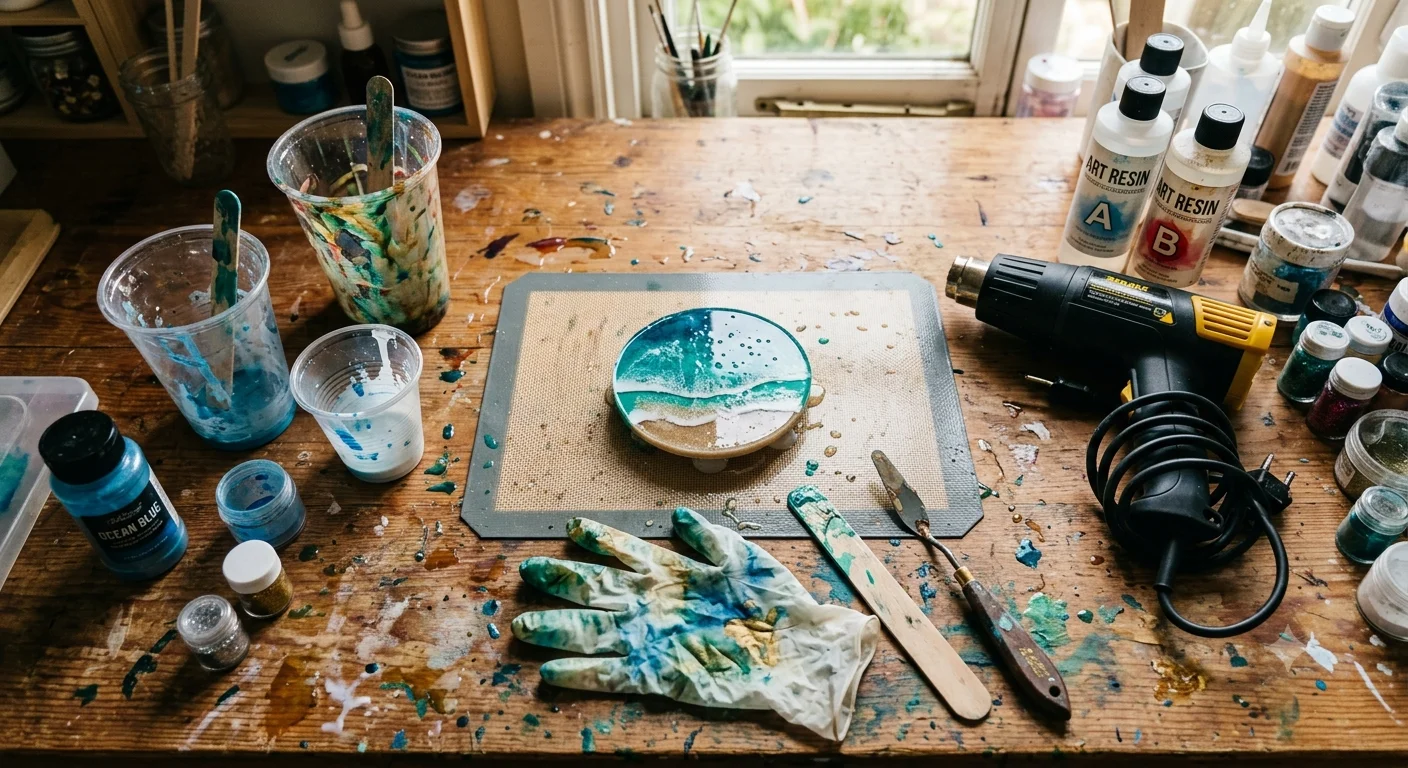
I still remember the exact moment I almost gave up on resin for good. It was 11 p.m., I had a gorgeous ocean-themed coaster set curing on my workbench, and I walked in the next morning to find it covered in tiny craters like the surface of the moon. Micro-bubbles, everywhere. My kitchen — sorry, “workshop” — smelled like a hardware store, my gloves were fused to my fingers with tacky half-cured resin, and I genuinely considered boxing up my supplies and calling it a hobby that wasn’t for me.
If you’ve had a night like that, welcome. You’re not bad at this. Resin is just one of those crafts that humbles everybody before it rewards them.
So let’s actually talk about what resin art is — not the dictionary version, but the real, sticky, occasionally infuriating, deeply satisfying version that happens on an actual workbench.
Okay, But What Actually IS Resin Art?
At the most basic level, resin art is what happens when you mix two liquids — a resin and a hardener — and that chemical reaction causes it to cure into a hard, glossy, plastic-like solid. That’s it. That’s the whole magic trick. Everything else — the pigments, the swirls, the geode look, the deep pours that look like they’ve got a whole ocean trapped inside — is just what you do to that base reaction before it sets up.
But here’s what nobody tells you when you buy your first kit: resin isn’t paint, it isn’t glue, and it definitely doesn’t behave like anything else in your craft stash. It’s a chemistry project wearing a crafting costume. You’re not just decorating — you’re managing a reaction. Ratios, temperature, humidity, and timing all matter way more than they do with, say, acrylic paint or hot glue.
That’s the “why” behind every rule you’ll hear resin folks repeat like a mantra: measure by volume or weight (never eyeball it), mix your two parts thoroughly, and respect your working time.
Resin Types — Because “Resin” Isn’t Just One Thing
When people say “resin,” they usually mean one of these:
- Epoxy resin — the most common for art, coasters, tumblers, and jewelry. Comes in fast-cure (a few hours) and deep-pour (24–72 hours) formulas.
- UV resin — cures under UV light in minutes. Great for small jewelry pieces, terrible for anything thick since UV light can’t penetrate deep.
- Polyester resin — cheaper, stinkier, more brittle, and honestly not my first pick for beginners. It’s more common in industrial or boat-repair contexts.
If you’re starting out, get yourself a good beginner-friendly epoxy — something with a 1:1 mixing ratio, because trust me, standing there doing math with a mixing ratio of 2:1 or 3:1 at 11 p.m. is not where you want your brain to be.
Mixing Ratios, Temperature, and the Stuff That Actually Ruins Projects
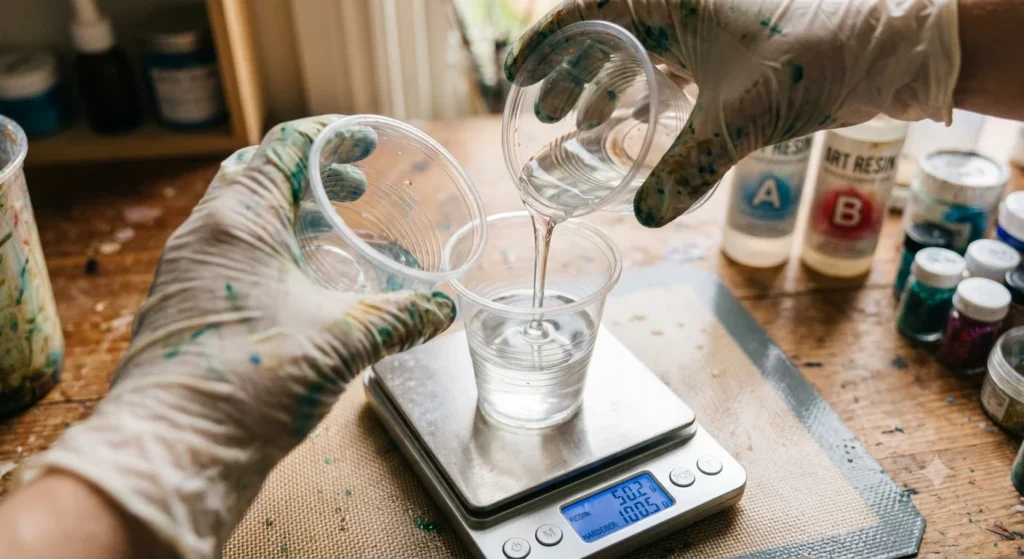
Here’s where I lost my first three batches, and I’ll save you the trouble.
Undermixing is public enemy number one. You have to scrape the sides AND the bottom of your mixing cup — not just stir the middle like you’re making instant coffee. If you leave unmixed resin clinging to the walls of the cup, you’ll get soft, tacky patches on your final piece that never fully cure. I now mix for a full three minutes, scraping constantly, then pour into a second clean cup and mix again for another minute. Extra step, but it’s saved me more pieces than I can count.
Temperature is not optional information. Most epoxies want your workspace somewhere around 70–75°F (21–24°C). Too cold, and your resin turns thick and sluggish, trapping bubbles like crazy and curing weird and cloudy. Too hot, and it kicks off faster than you can work with it — sometimes even generating enough heat to yellow or crack in a deep pour (this is called an exotherm, and it’s genuinely alarming to witness the first time your resin starts smoking in the cup).
Humidity is the silent project-killer. If you’ve ever pulled a piece that looks like it’s been dusted with a thin layer of frost or has a weird cloudy “blush” on top, that’s moisture in the air reacting with your resin as it cures. Summer humidity is brutal for this. A cheap dehumidifier in your workspace is honestly one of the best investments I’ve made.
Getting Bubbles Out (Because They Will Show Up No Matter What)
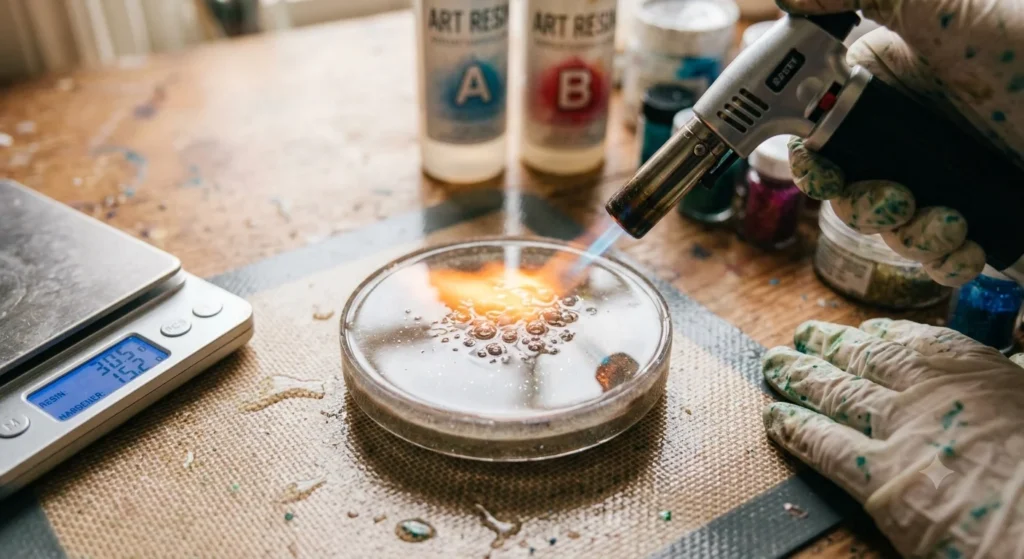
You will get bubbles. Every single time, at some stage. The trick isn’t avoiding them entirely — it’s knowing how to deal with them.
- Mix slowly. Whipping your resin like cake batter just whips air right into it.
- Let it sit for a few minutes after mixing before you pour — this lets a lot of the mixing bubbles rise and pop on their own.
- Torch or heat gun, lightly, after pouring. A few quick passes waft across the surface and pop bubbles almost instantly. Don’t linger in one spot or you’ll scorch it.
- Pressure pot, if you’re serious. For crystal-clear results — especially with pieces that have embedded objects — a pressure pot forces those trapped bubbles to compress and basically disappear. It’s an investment, but if you’re doing this regularly, it’s a game-changer.
Mica Powder vs. Alcohol Ink — Know the Difference Before You Pick
This trips up so many beginners. Mica powder gives you shimmer, metallic sheens, and opaque coverage — think galaxy pours, geode edges, that pearlescent shimmer people love. Alcohol ink gives you those wild, organic, almost watercolor-like blooms and cells — that’s your go-to for abstract ocean pieces or flowing color work. They behave completely differently in resin, and mixing too much of either can mess with your cure (alcohol ink especially, since too much can leave your resin permanently tacky).
Real Projects Worth Trying (And What They’ll Teach You)
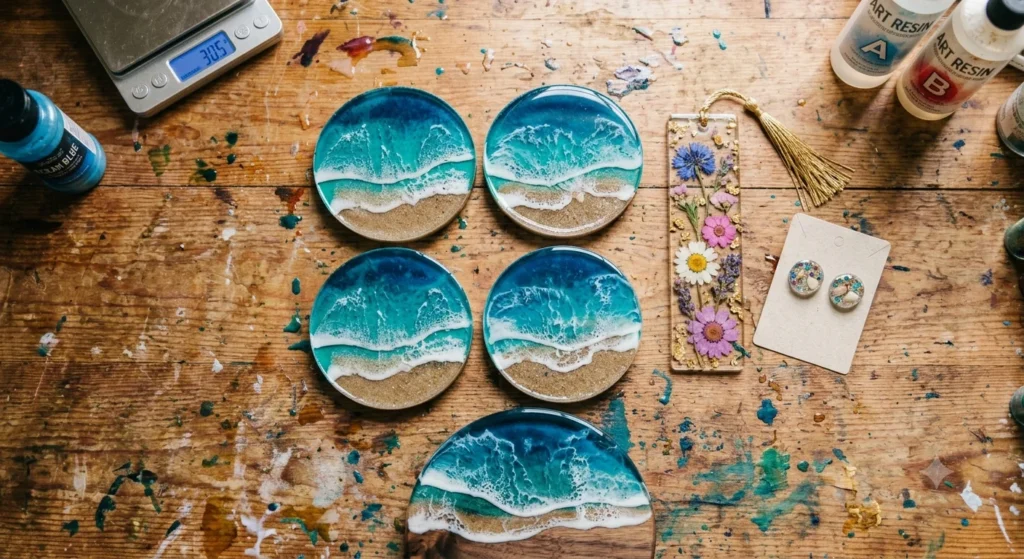
- Coasters — the classic starter project. Small, forgiving, cheap to redo when it goes sideways.
- Bookmarks with dried flowers — teaches you how to work around embedded objects without trapping bubbles around the petals.
- Deep-pour charcuterie boards — this is where you really learn patience and exotherm management, since deep pours generate real heat.
- River tables — the big leagues. Wood movement, leveling, and multi-stage pours all come into play.
- Jewelry with UV resin — fast, satisfying, great for testing color combos without committing hours of cure time.
Start small. I know the river table looks tempting on Pinterest, but your first attempt should be something you won’t cry over if it flops.
Mistakes I Made So You Don’t Have To
- Pouring on an unlevel surface — I once came back to a coaster that had cured thicker on one side like a tiny resin ramp. Self-leveling feet or shims are non-negotiable.
- Skipping mold release — silicone molds are usually fine bare, but anything else needs a proper release agent or you’ll be fighting your piece out with a butter knife.
- Rushing the second coat — pouring another layer too early or too late leads to peeling or fingerprints in your final layer. There’s a sweet spot — tacky but not wet — and you’ll learn it by feel.
- Ignoring your gloves and workspace prep — cover everything. Resin drips find their way onto surfaces you swore were nowhere near your pour.
Final Thoughts
Resin art isn’t really about getting a “perfect” pour — it’s about learning to read what your resin is telling you. The bubbles, the cloudiness, the slow cure on a cold day — all of it is information, not failure. Every ruined coaster taught me something my next twenty successful pieces benefited from.
So mix your ratios carefully, respect the chemistry, keep your workspace warm and dry, and don’t be afraid to sacrifice a batch or two to the learning process. That’s just part of the deal.
Good luck on your next pour — and hey, keep some extra gloves on hand. You’re going to need them.